One Wall Could Change the Whole Room.
Turn an ordinary wall into a beautiful, custom-looking feature with the natural warmth and character of real cedar — using budget-friendly materials and a DIY method you can follow with confidence.
A stunning transformation. Without a major renovation.
GRAB THE CEDAR PLANK WALL GUIDE!Some Rooms Just Need a Little Character.
You've painted the walls. You've rearranged the furniture. You've tried adding artwork and decor.
But something still feels missing.
Sometimes, the biggest transformation doesn't require changing the entire room. Just one wall.
We love the warmth, texture, and natural beauty of real wood. That's why our Cedar Plank Wall method is one of our favorite ways to turn a plain space into something truly special — without spending a fortune.
Because a little natural character can make a room feel entirely new.
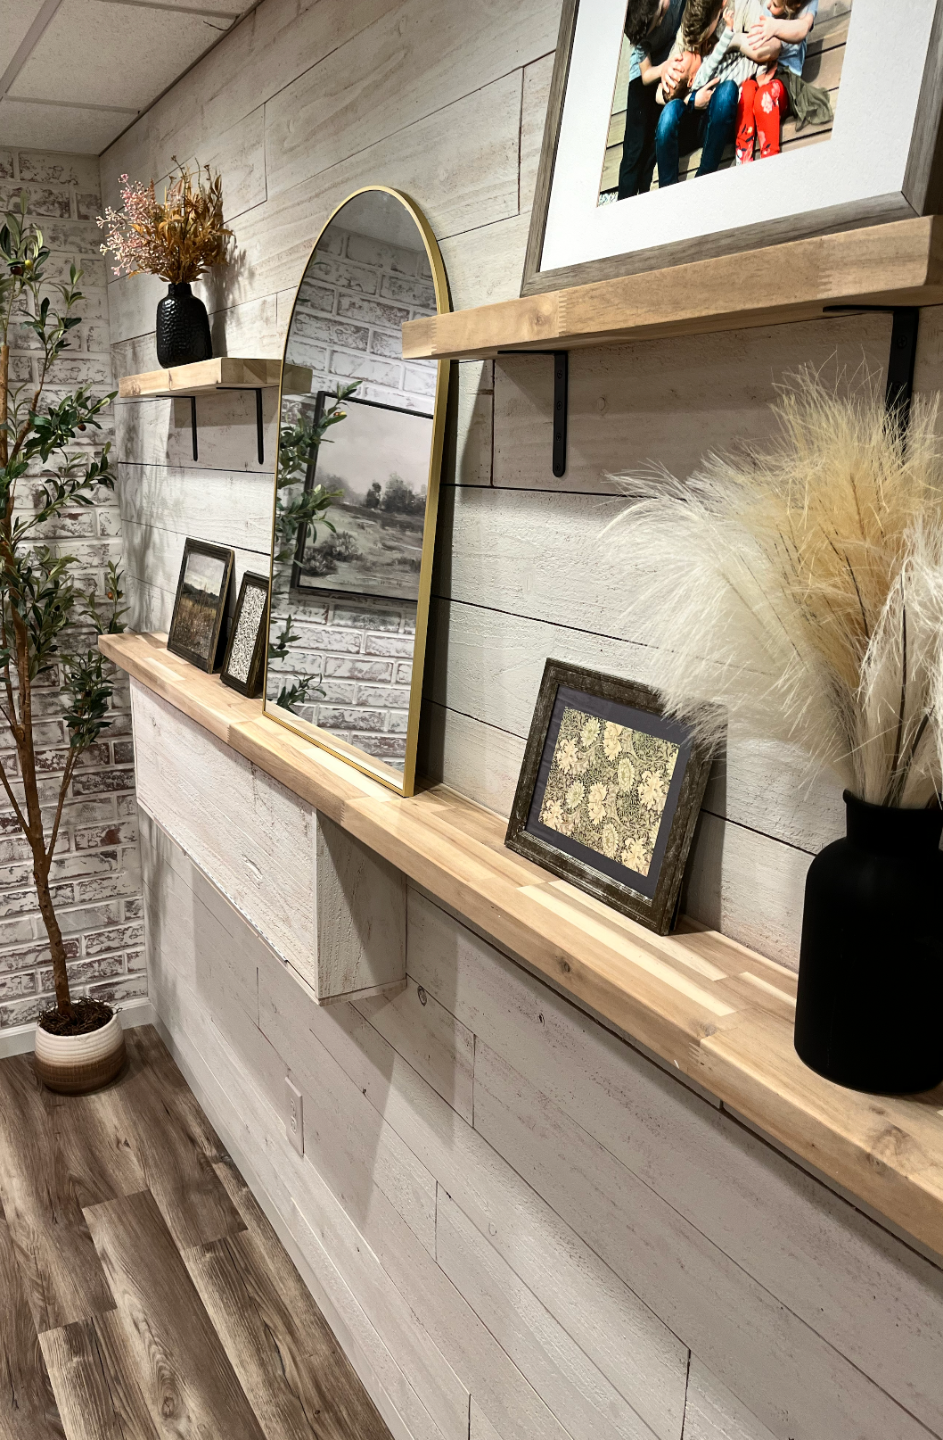
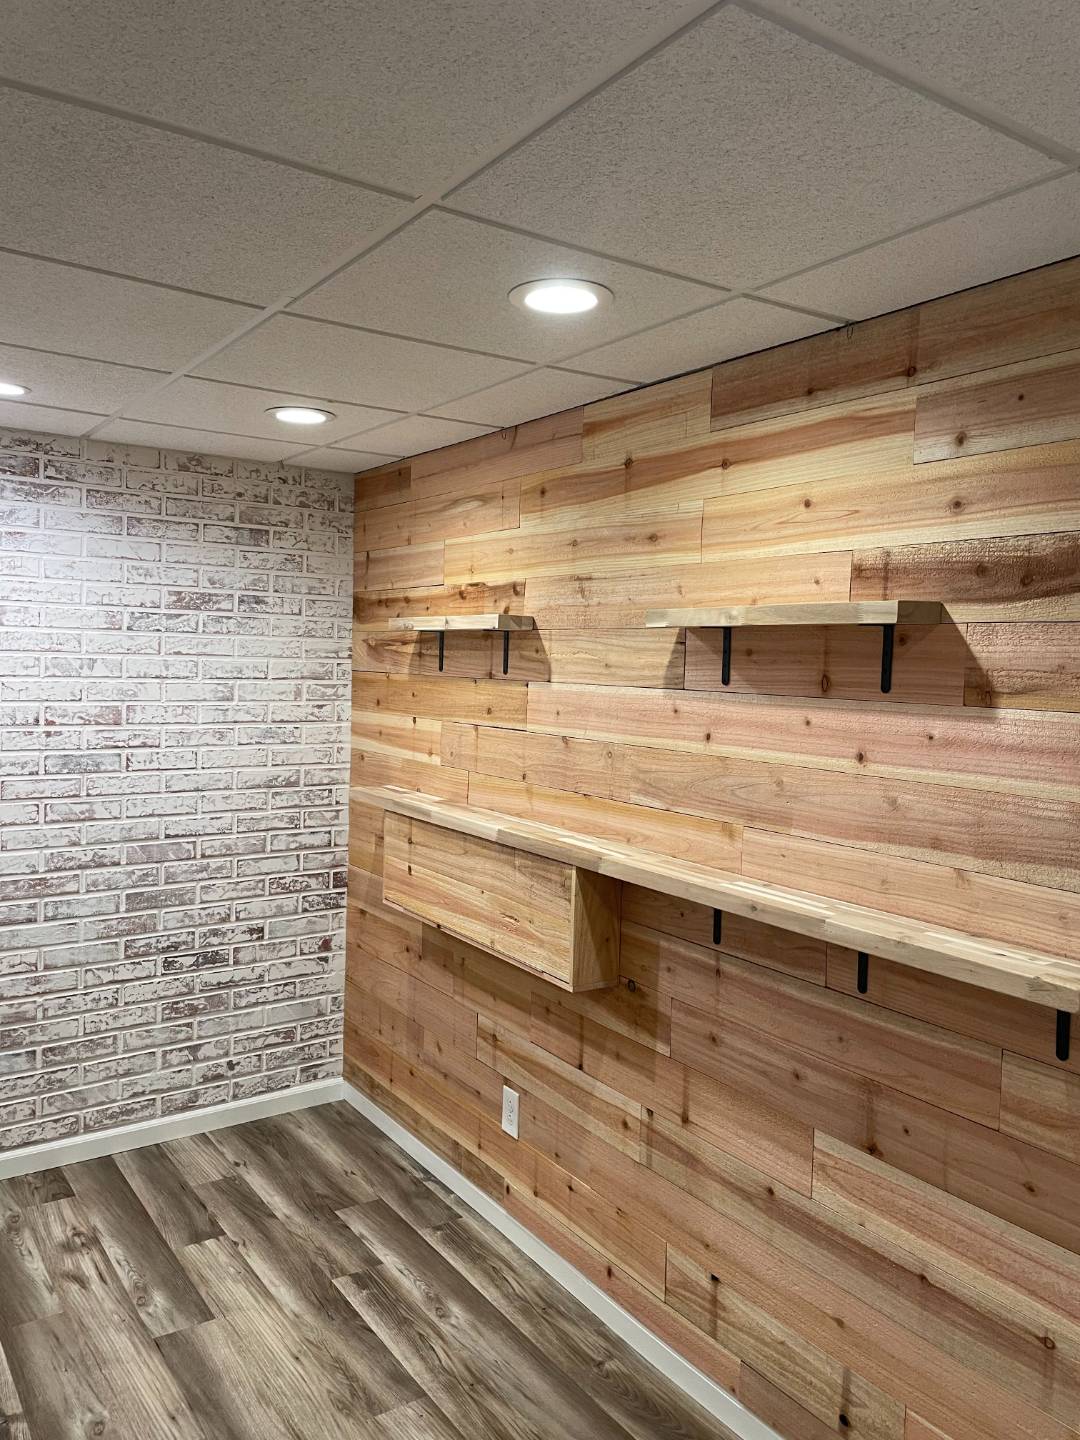
We Figured Out the Process. Now We'll Show You How.
A beautiful cedar plank wall might look complicated, but it doesn't have to be.
One of the things we love most about this project? Perfection isn't the goal! Natural variations in the wood add warmth and personality, and you can customize the finished look to fit your style.
Whether you love a clean, polished appearance or something more rustic and weathered, we'll help you create a wall that feels right at home in your space.
Inside the guide:
-
Clear, step-by-step instructions with photos
-
Helpful tools and materials lists
-
Guidance from planning and preparation through installation and finishing
-
Practical tips and options for customizing your wall
All organized to help you spend less time figuring things out and more time creating something beautiful.
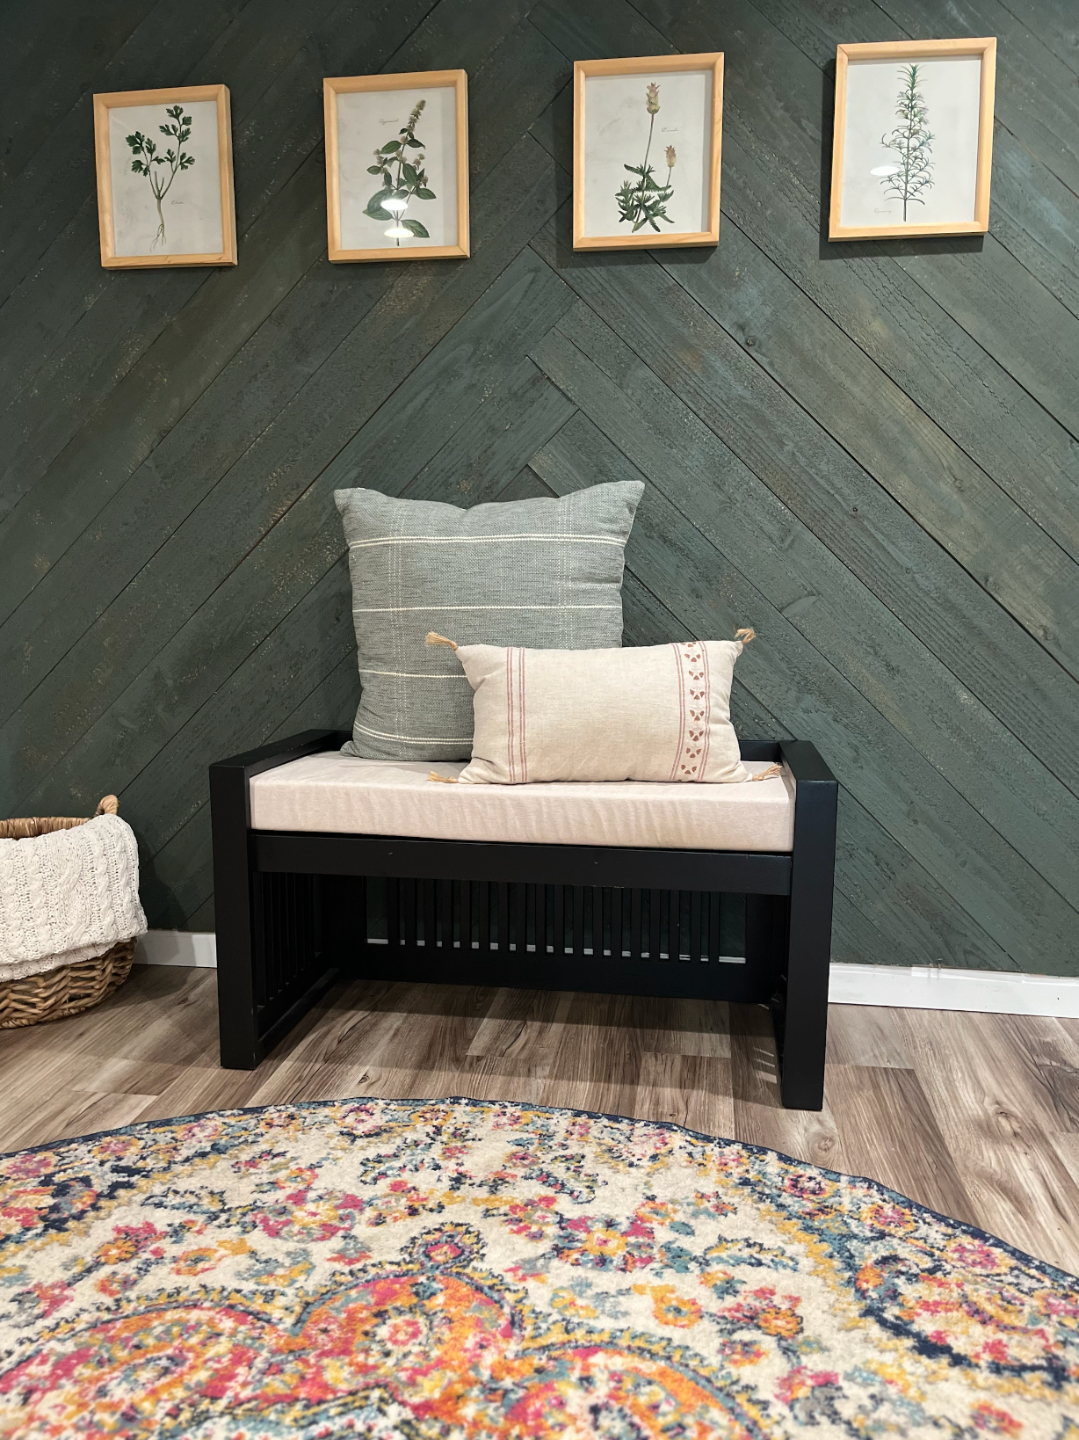
LOVE THIS PROJECT? TAKE 35% OFF!
Ready to bring some cedar character to your kitchen? Grab your Cedar Plank Wall Guide at a special subscriber discount!
*You will receive an email with an exclusive 35% off coupon code - apply this at checkout. More Savings, More DIY!
35% Off Your First Store Purchase
Join our email list for exclusive discounts, project tips, and be the first to know about new releases.
We won't send spam. Unsubscribe at any time.
Take a Peek Inside the Guide!
Want to see what you're getting? Take a quick look inside our Cedar Plank Wall Guide!
You'll find clear, step-by-step instructions, helpful photos, and practical planning information to help you bring this beautiful wood feature wall to life.
Take a look — then get ready to DIY!

Beautiful Results. Smaller Budget.
Create a custom-looking cedar plank wall without the custom price tag. Our method uses affordable materials to make a big impact on a DIY budget.
Skip the Guesswork.
No piecing together instructions from a dozen videos! Get clear, step-by-step photos, plus tools and materials lists to help you tackle your project with confidence.

Learn from Experienced Teachers.
We're not just DIYers — we're educators, too! We love breaking down projects into simple, approachable steps so you can feel confident creating something beautiful yourself.

THE PGH DIY WAY
Real Projects. Practical Guidance. More Time for What Matters.
We're Sarah and Vince — passionate DIYers, experienced public school teachers, and busy parents of four.
We've spent years figuring out how to make beautiful, functional home projects simpler, smarter, and actually doable.
And as teachers, we know how to break down intimidating projects into clear, manageable steps.
We've done the research, made the mistakes, learned the shortcuts, and worked through the challenges — so you don't have to start from scratch.
Because we believe creating a home you love shouldn't consume your life.
Less guesswork. More confidence. Beautiful results. And more time for the people and moments that matter most.
That's the PGH DIY Way.
Big Impact. Beautifully Budget-Friendly.
You don't need expensive materials or a professional renovation budget to make a major statement.
With affordable cedar and a straightforward DIY approach, you can create a feature wall that adds warmth, texture, and a custom feel to your home.
A beautiful cedar accent wall can cost less than $200 in materials!
*Depending on your wall size, material choices, and local prices.
A wall full of character doesn't have to come with a big price tag.
GRAB THE GUIDE & GET GOING!
Thomas P - RI
"The instructions were incredibly easy to follow. I never felt stuck or confused, and the visual steps made a huge difference. What started as a blank wall is now a beautiful focal point that completely elevated the space."

Jennifer K -NM
"I didn’t realize how much one wall could change a room until I finished this project. The guide made everything feel simple and doable, even for someone like me who tends to overthink every step. The final result added so much warmth and character — it’s now my favorite part of the house."
The 'Project Path' Math
Three ways to tackle your dream DIY project. One smart decision.
*Reflects our wall: 13'6" x 7'6" (~101sqft.)
(*Illustrative scenario only, assuming a comparable basic project. *DIY hours are hypothetical, not measured outcomes; contractor hours count only homeowner involvement and exclude the professional's labor and scheduling delay. *Extra tools, utilities, permits, and specialty work may increase costs.)

The Contractor Path Math
~$900 - $1,700
Sample installed cost
(Includes professional labor & materials)
Your Time: ~4 hrs
Your coordination time
Roughly: An Evening or Three
(*this is an estimate, individual contractors, materials, rates will vary by region/expertise)

The Winging-It DIY Path Math
~$275 - $450
Materials + contingency
Your Time: ~*12-24 hrs+
Research + build + rework allowance
Roughly: Multiple Weekends
(*this is an estimate, individual results vary)

The PGH DIY Path Math
~$225 - $375
Materials + contingency + PGHDIY Guide
Your Time: ~10-16 hrs
Planning + build + adjustments
Roughly: A Weekend - Sarah & Vince's Install Time
(*this is an estimate, individual results vary)
There's always Path #4: Do Nothing.
But you've already imagined how great this project could look in your home. Where's the fun in leaving it on the someday list?
...A Little More Math:

The Contractor Path
Let the pros handle it.
Pros:
- Professional expertise and execution
- Less hands-on work for you
Cons:
- Higher overall price
- Scheduling and availability
*Largest FINANCIAL investment of the three paths

The Winging-It DIY Path
YouTube, Pinterest & crossed fingers.
Pros:
- Free ideas, piecing together free materials
- Total creative freedom
- The pride you can take in struggling on your own through your DIY Project.
Cons:
- Requires your own time, tools, and effort
-
Figuring out board placement, staggered seams, and measurements
-
The tricky stuff: cutting around outlets, corners, and obstructions
-
Potential wasted boards, extra store trips, and frustrating re-cuts
- Scattered instructions and extra research
- More potential for mistakes and wasted materials
- More potential to waste a lot of time
*Largest TIME investment of the three paths

The PGH DIY Path
Your hands. Our game plan.
Pros:
- Step-by-step photo guidance
- Organized tools and materials lists
- Planning guidance from experienced educators
- The pride of Doing-It-Yourself ... the simple way!
Cons:
- Requires your own time, tools, and effort - but we are there walking you through WHICH tools and materials, how much they might cost & you can always Rent or Borrow them.
*Largest INVESTMENT IN YOURSELF!
Potentially hundreds saved by doing it yourself.
The guide's additional value is organized instruction that could reduce research and rework — not a guaranteed lower materials bill.
The Smartest Investment?
A Little Know-How.
Sure, you could hire a contractor.
Or spend hours searching YouTube, scrolling Pinterest, and figuring things out as you go.
But there's a third option!
You bring the tools and determination. We'll bring the game plan.
Our PGH DIY Guides combine clear instructions, helpful photos, and practical planning advice from experienced DIYers and educators.
A little guidance can go a long way toward saving time, avoiding frustration, and making your next DIY project a whole lot more enjoyable.
Invest in You.
*INSTANT File Access After Download
LET'S DO THIS - GET MY GUIDE!